I recently had the pleasure of spending a day driving south on Highway 1, through Big Sur on the Northern California coast. Big Sur is a photographer’s paradise with rugged mountains, wildflowers, beautiful ocean beaches, huge cliffs and all kinds of wildlife. It begins just south of Carmel, California and continues south on over 70 miles of twisty, cliffy two lane highway. It’s a fun drive in a good car or on a motorcycle – just don’t blow a corner. Going off the road in Big Sur pretty much means The End – and I’m not talking about the end of your trip.
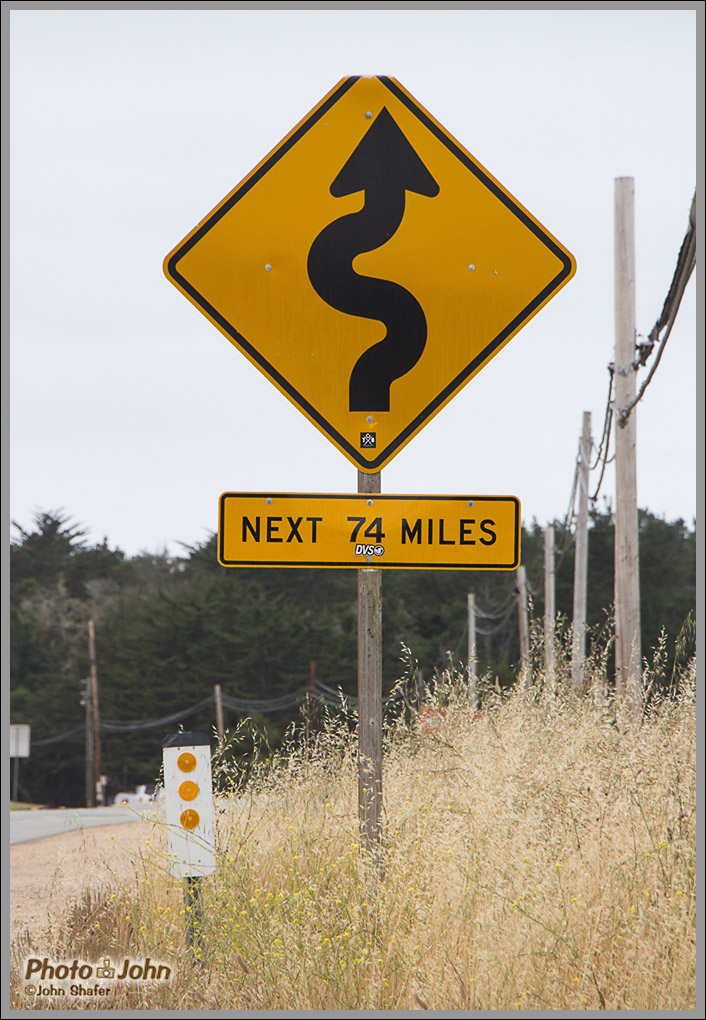
We started our Big Sur adventure from San Jose, CA, a.k.a. Silicon Valley. We drove south through Salinas to Monterey (about 75 miles) where we got on Highway 1 and continued through Carmel until we reached the curvy road sign below. That sign announces you have reached the northern tip of Big Sur.
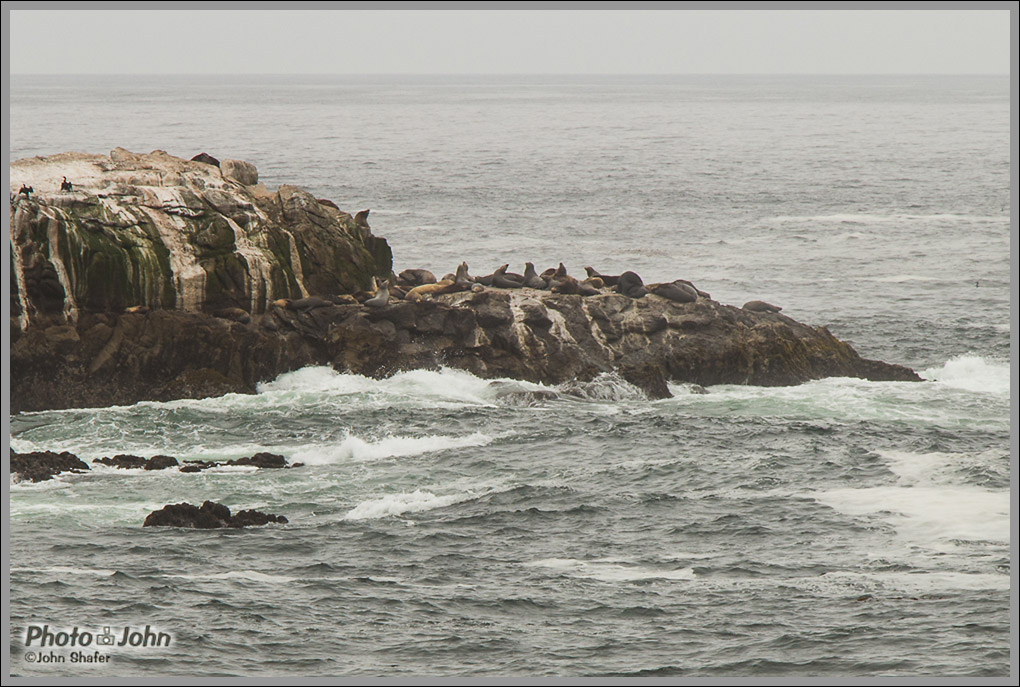
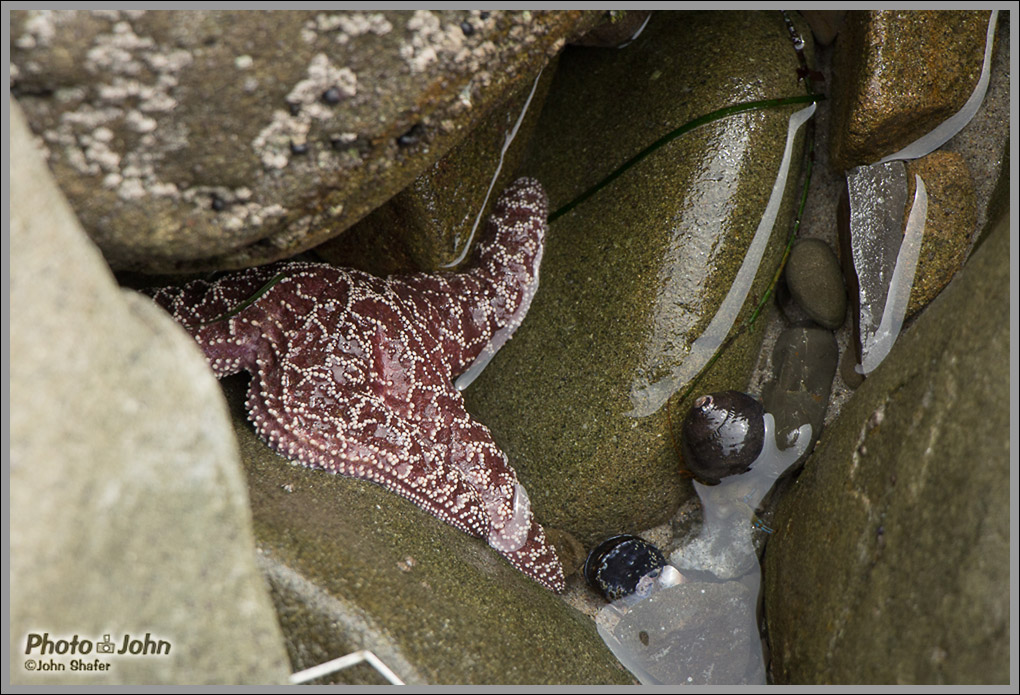
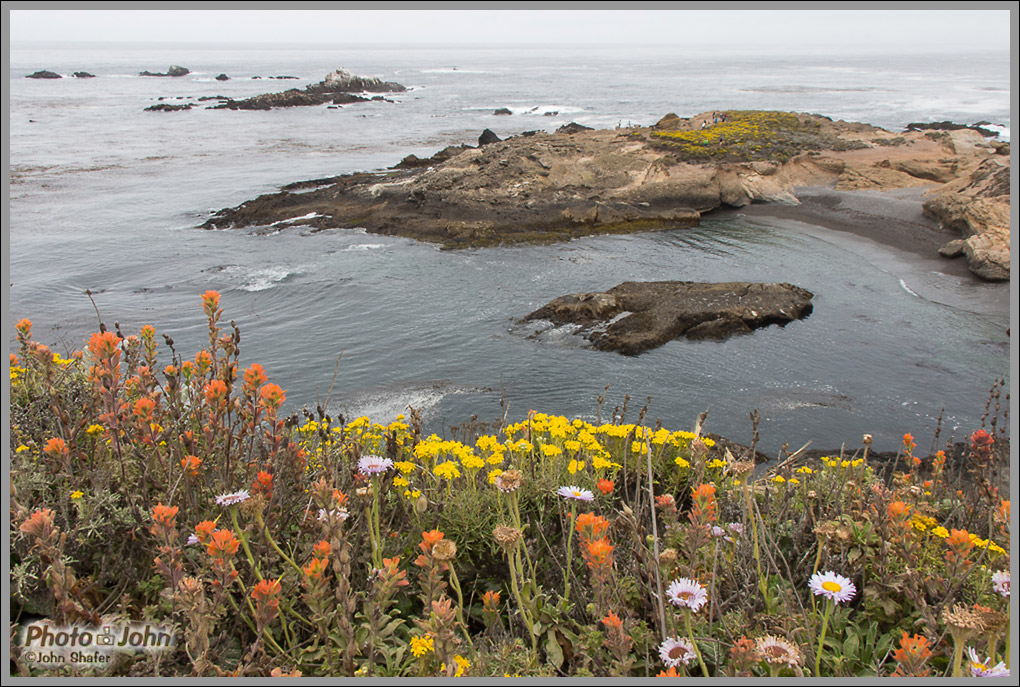
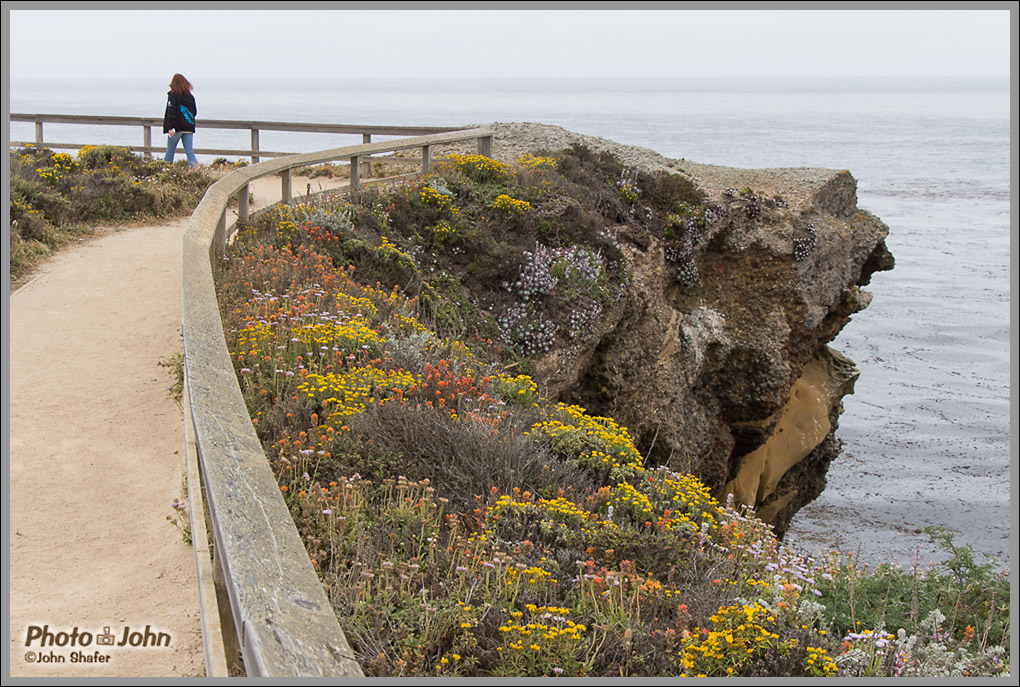
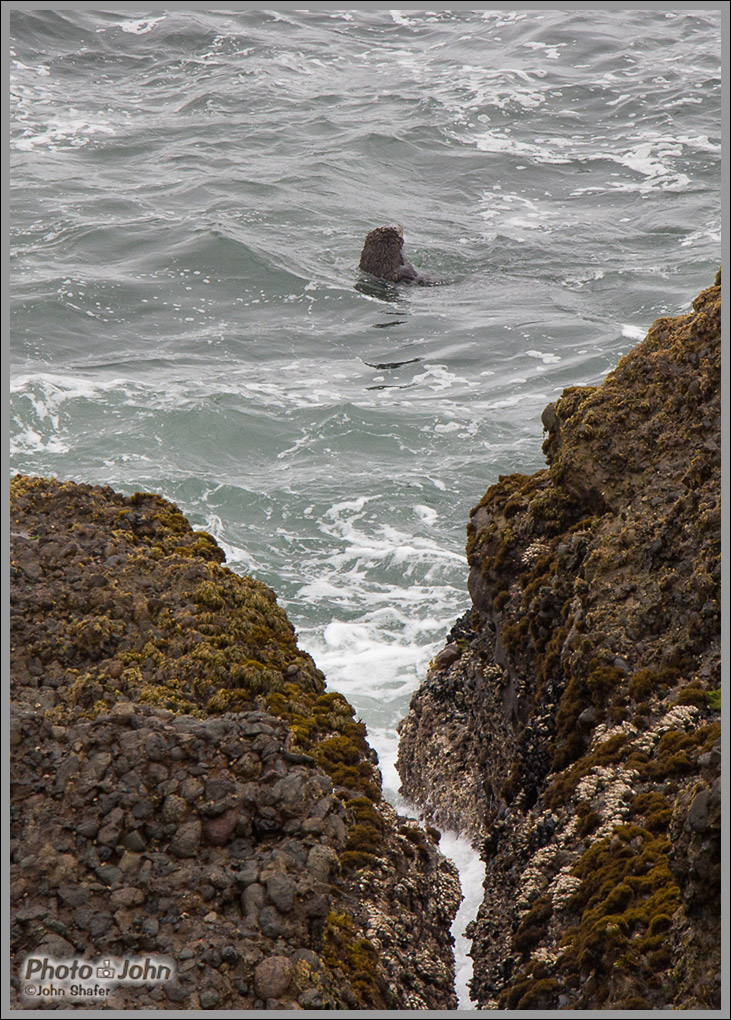
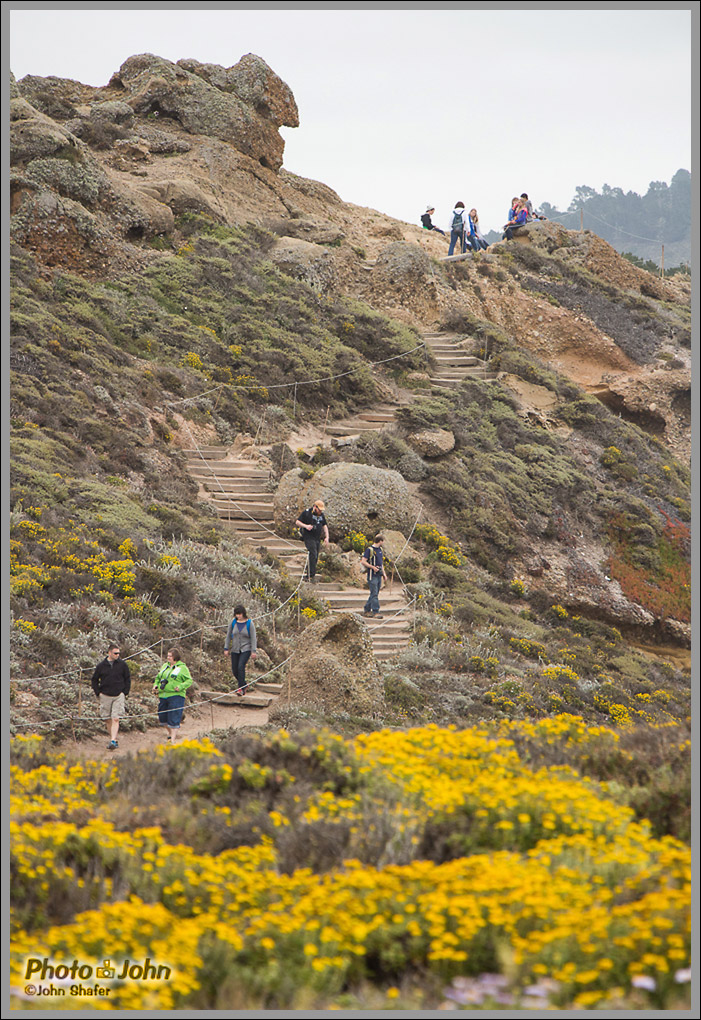
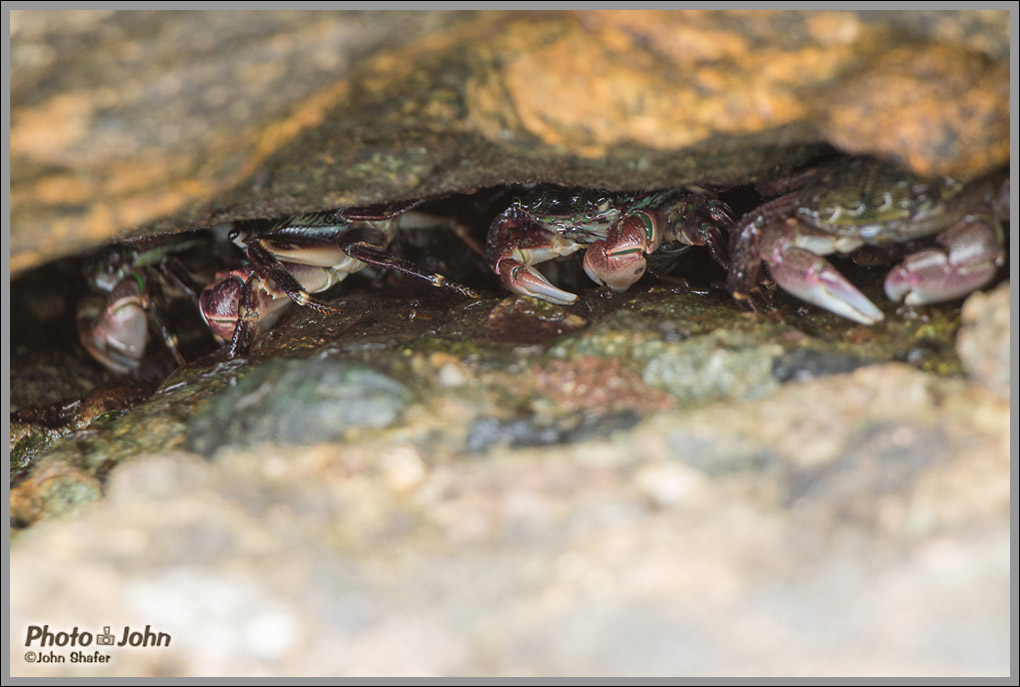
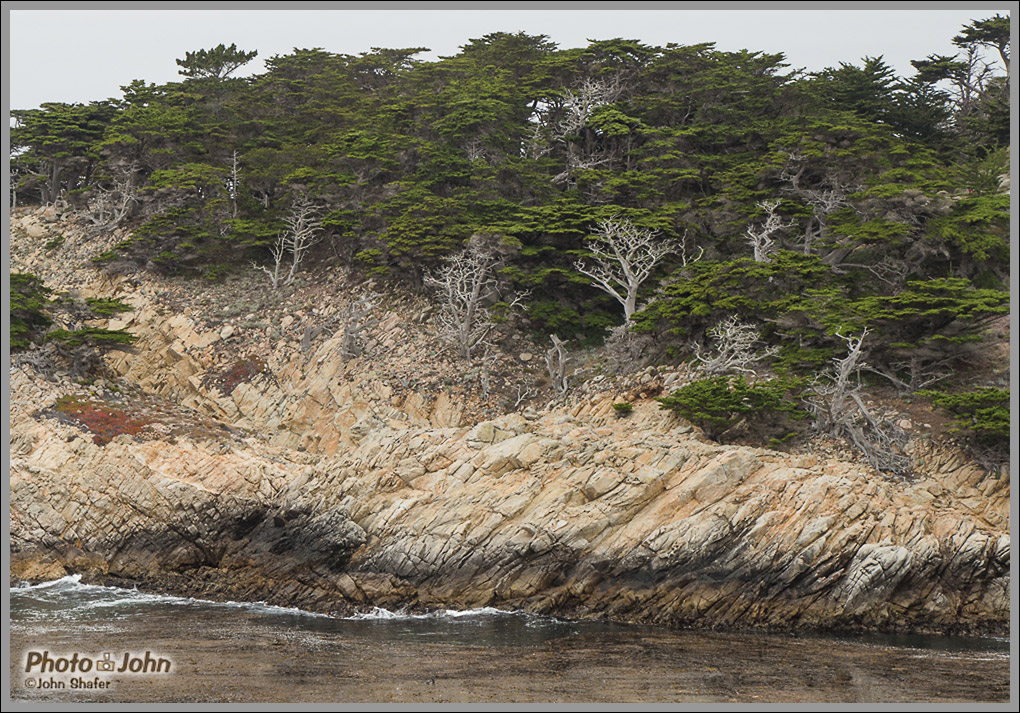
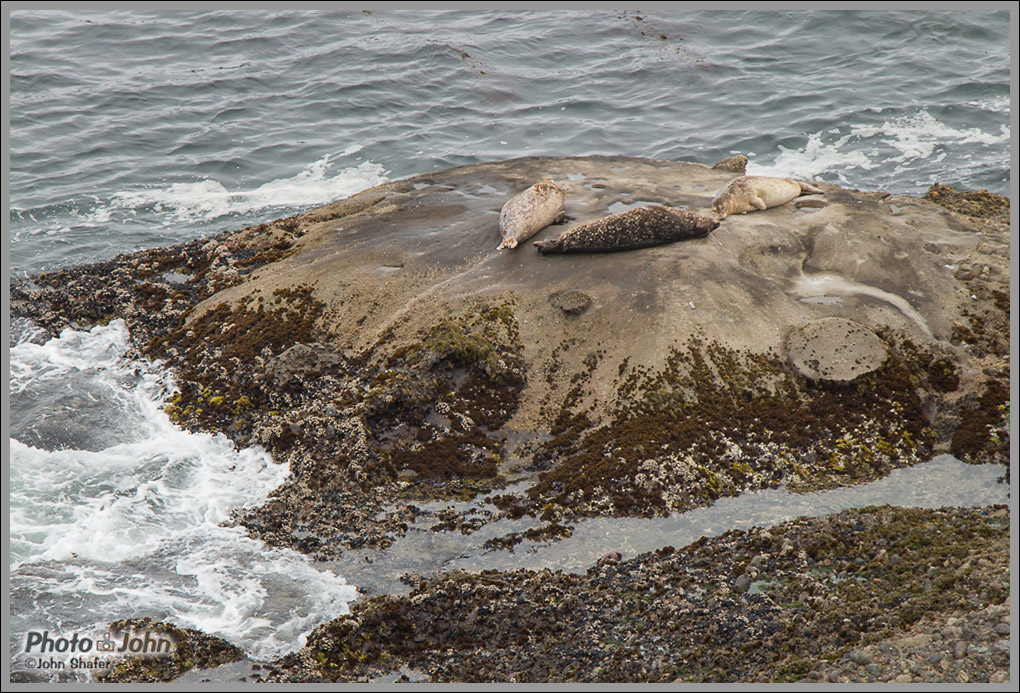
Our first Big Sur stop was Point Lobos. Point Lobos State Reserve is a very popular location for landscape photography. Many notable photographers have taken pictures at Point Lobos, including Edward Weston and Ansel Adams. The cliffs, beaches, tide pools and cypress trees make great subjects and I could spend days shooting at Point Lobos without getting bored. However, we had a big drive with lots of stops in front of us so we didn’t explore the whole park. We went out to Sea Lion Cove – and yes, there were sea lions. That’s not all, though. We also saw sea otters, crabs, sea anemones, deer, and tons of birds. However, the photographic highlight of our Point Lobos stop was the incredible wildflower display. They were going crazy, as you can see in the photo below of the natural hanging garden on the cliffs above the cove. It’s almost hard to believe this is completely natural.
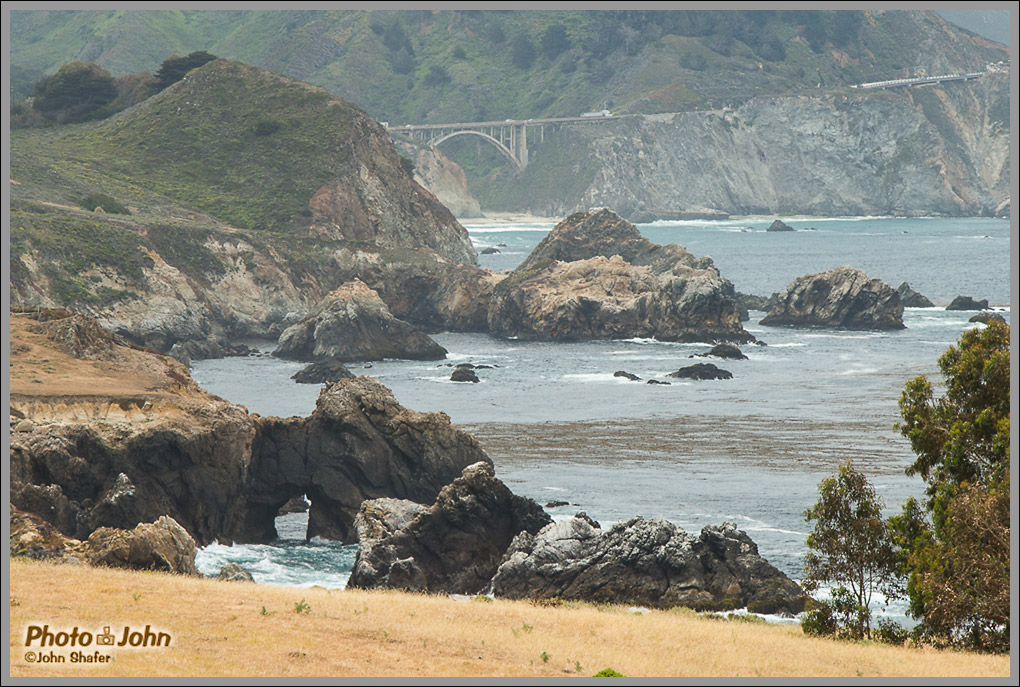
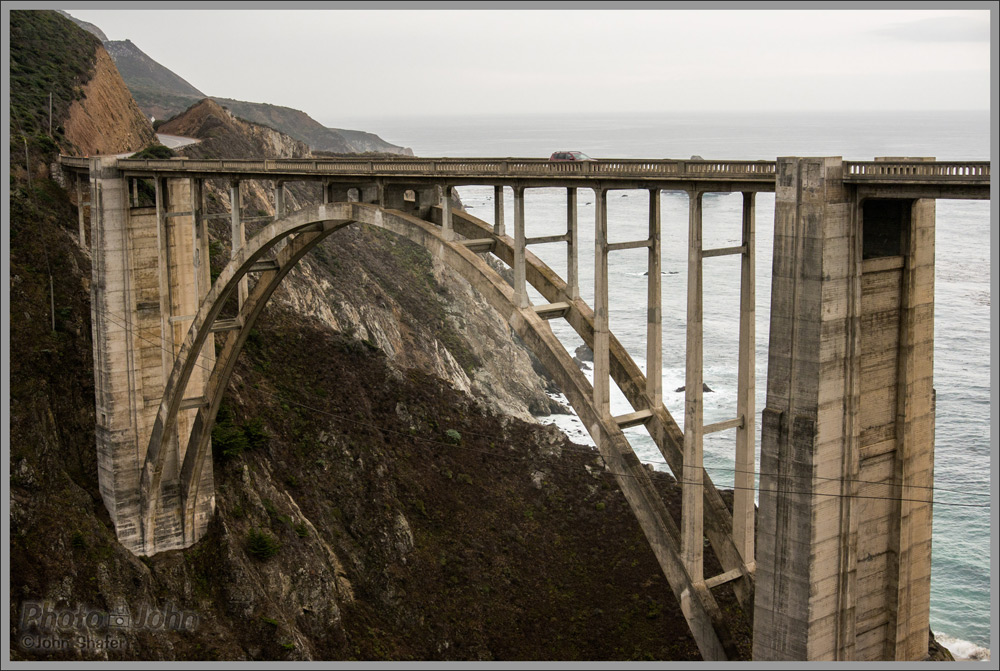
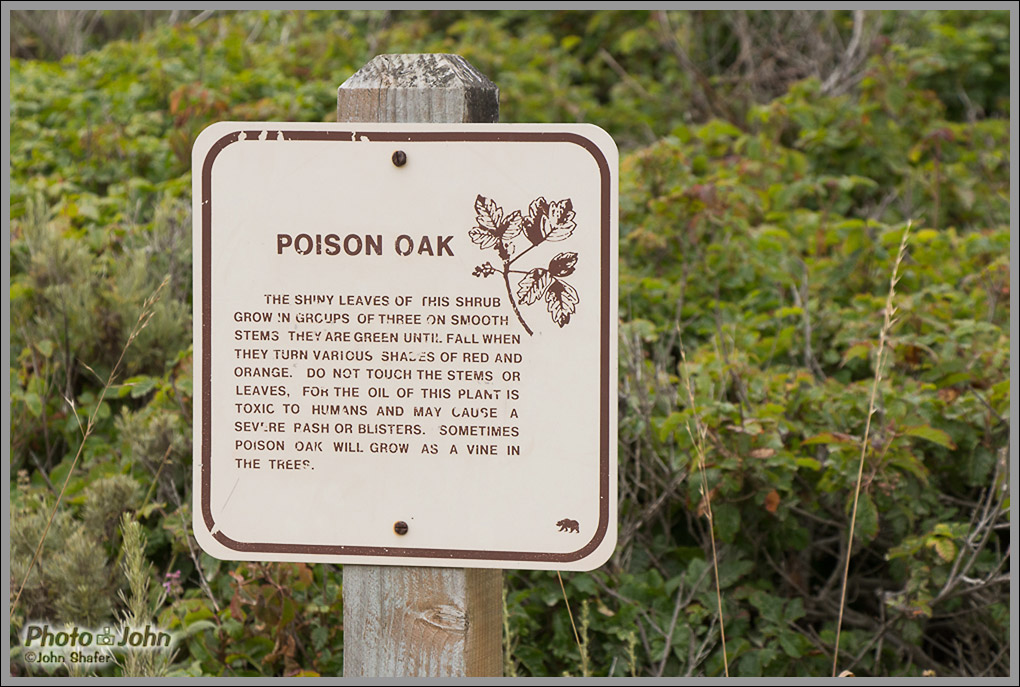
One of the most recognized Big Sur landmarks is Bixby Bridge, about 11 miles south of Point Lobos on Highway 1. Bixby Bridge gets used in automobile print and TV ads all the time. We drove right over it without stopping on this trip but I’ve stopped there for photos before. It really is spectacular. It’s pretty difficult to take a picture of it that already hasn’t been taken 1000 times, though. And look out for poison oak if you start hiking around trying to find creative photo angles. Not only are the cliffs dangerous, but Big Sur is carpeted with poison oak and it is an evil, evil plant.
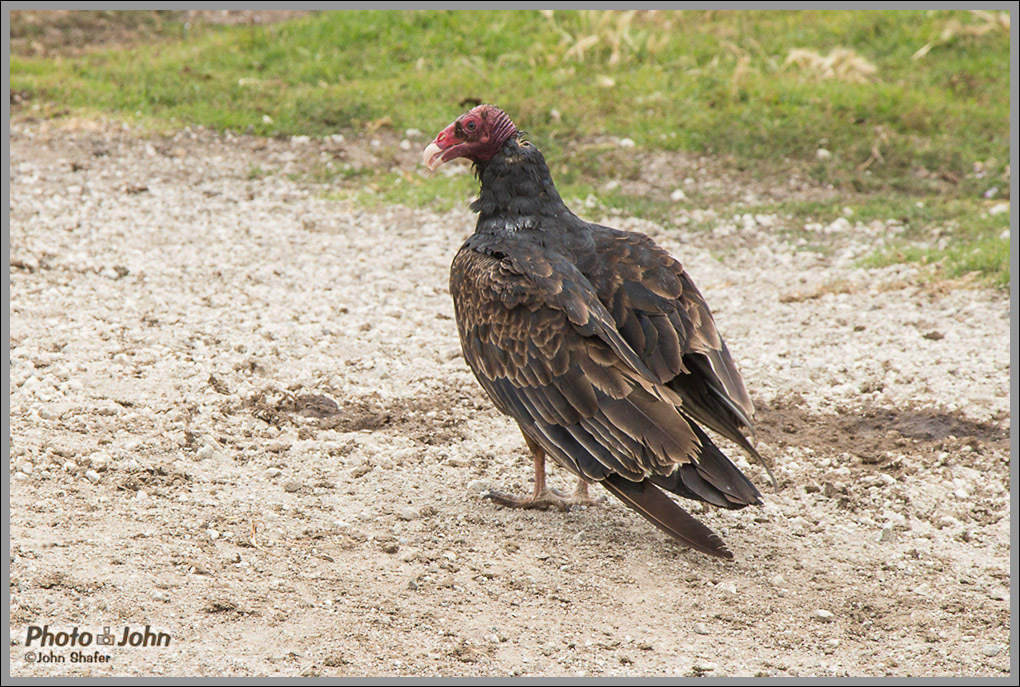
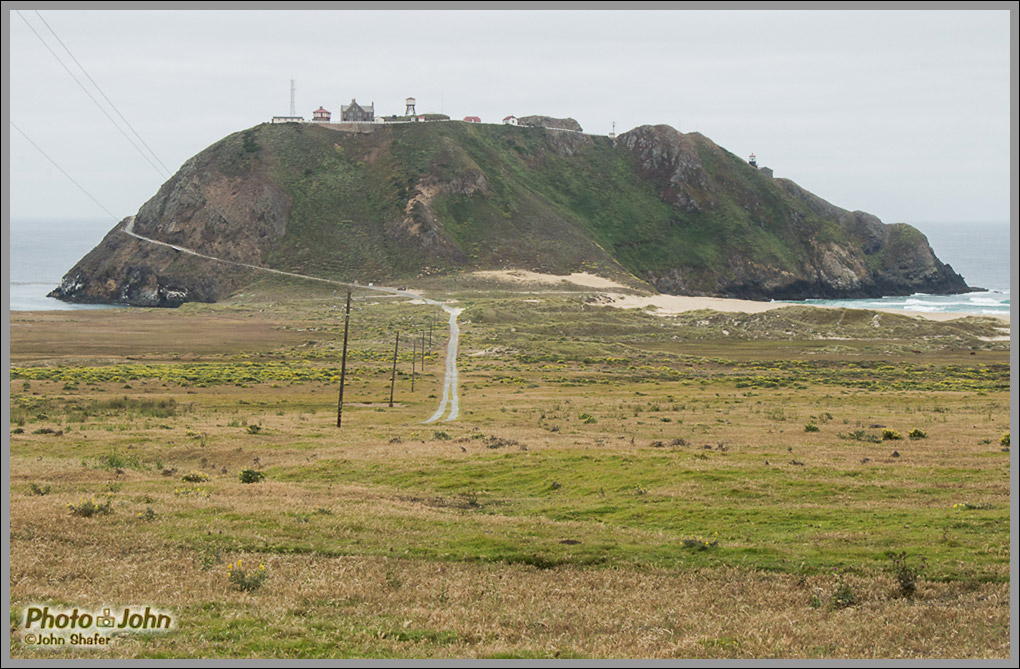
Our next stop was Point Sur State Historic Park and Lightstation, a reportedly haunted, working lighthouse located on a rocky point, about 350 feet above the ocean. Unfortunately, we only got to see it from the highway. It’s on a gated road and the only way to see it up close is by taking a three hour guided tour, which we didn’t have time for. It’s still a worthy, if quick photo stop. If you have a long lens you can get some interesting and spooky photos of the old buildings and the lighthouse on the north end of the rock. I also got a photo of a nasty-looking turkey vulture while walking up the highway to get a look at the lighthouse. Always keep your eyes open for wildlife at Big Sur. It’s a very wild place and there are all kinds of critters. You might even get really lucky and spot a California condor.
Just past Point Sur, the highway turns inland for a few miles and the landscape changes from open, wind-blasted coastal cliffs to mountains and redwood trees. This is where you’ll find the town of Big Sur and Pfeiffer Big Sur State Park. This is also your best, and probably only, bet for food, gasoline, hotels and camping. I don’t believe there are any gas stations between the town of Big Sur and Carmel to the north; or San Simeon, 65 miles to the south. You’re better off fueling up your vehicle before Big Sur. From what I’ve heard, the gas stations in Big Sur will make you pay through the nose. I topped off my tank in Salinas so I didn’t have to worry about getting screwed in Big Sur.
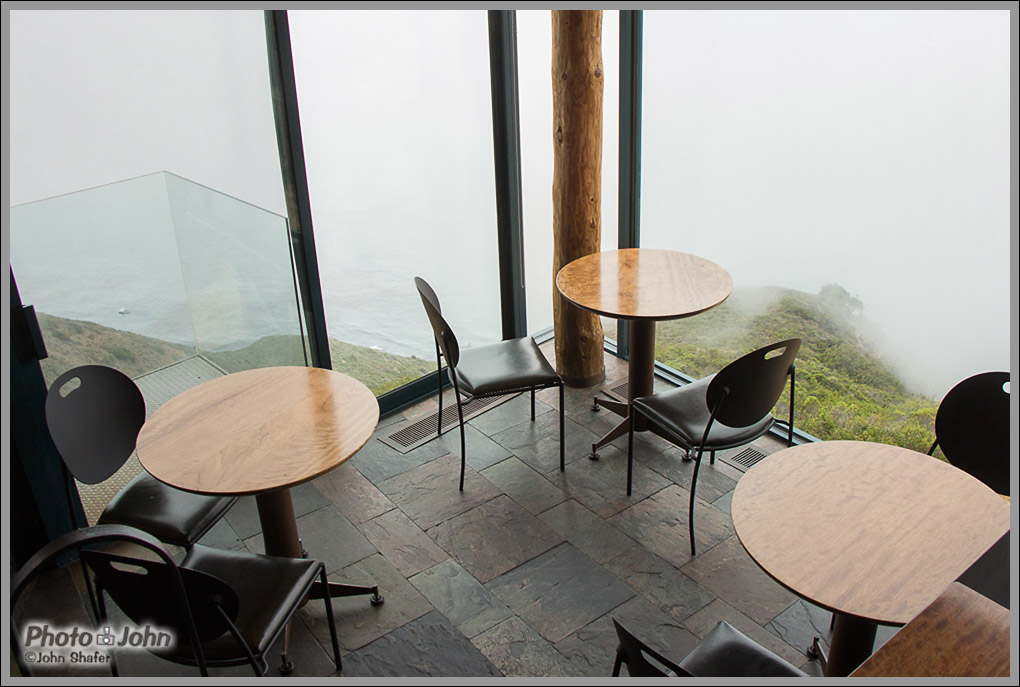
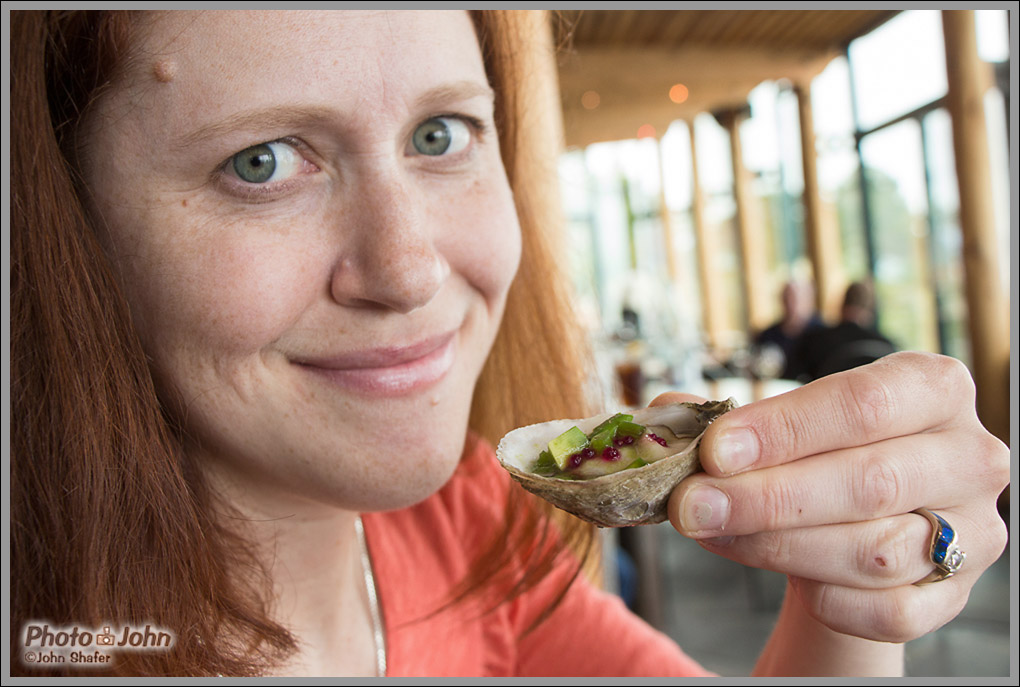
There’s no McDonalds or other standard chain restaurant fare and there aren’t a lot of food options in Big Sur. Your best bet is to bring food with you. But if you want a unique meal, there are some really good gourmet restaurants hanging on the cliffs over the ocean around the town of Big Sur. I’ve been to Sierra Mar at Post Ranch Inn a couple of times and it’s superb – truly inspirational food served behind a wall of glass overlooking the Pacific. Sierra Mar is very expensive but I guarantee a meal you’ll never forget. No one complained about me wandering around the restaurant taking pictures, either. The restaurant itself is a pretty interesting photo subject and the ocean views are fantastic. The food is photo-worthy, too. It’s not just delicious – every plate is a work of art that deserves to be photographed.
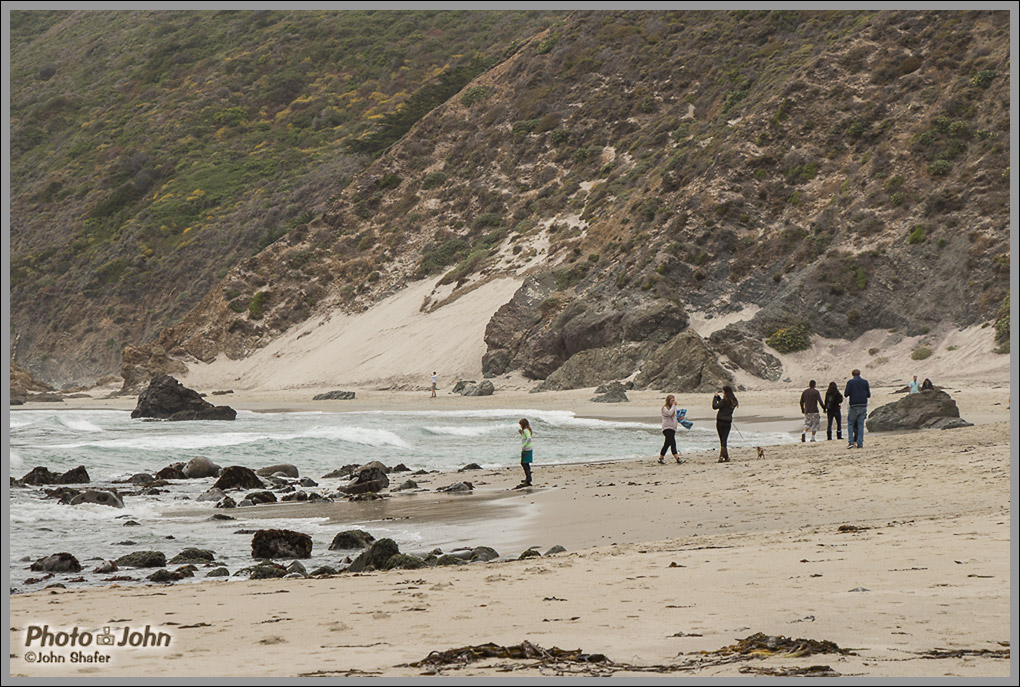
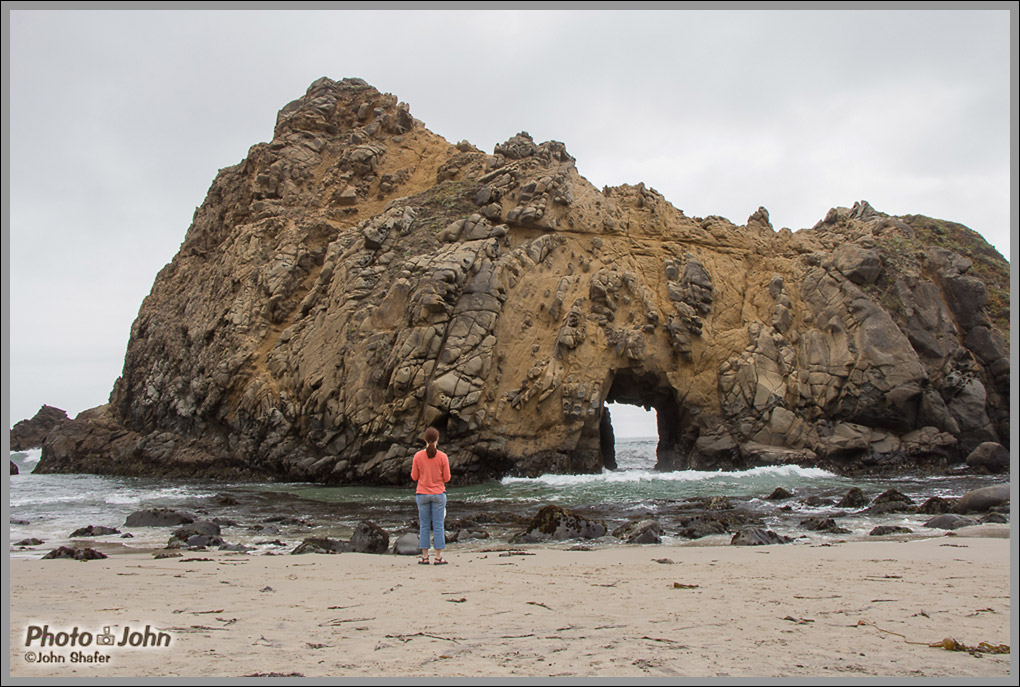
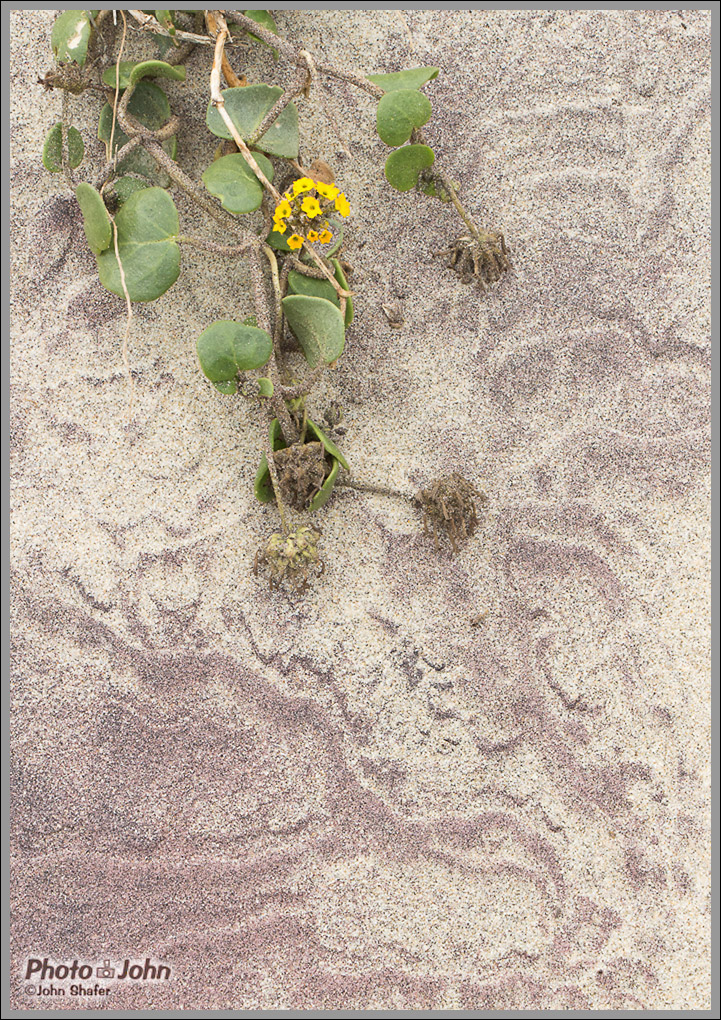
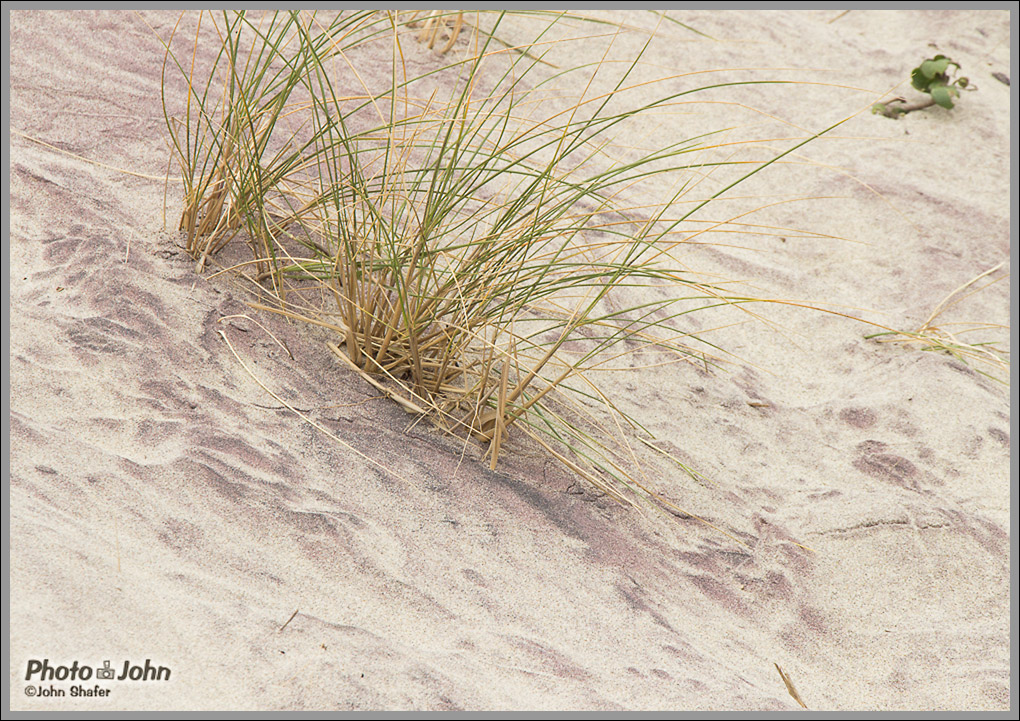
After our awesome lunch at Post Ranch Inn, we backtracked a bit to visit Pfeiffer Beach, rumored to have purple sand. The turn off for Sycamore Canyon Road and the beach is very hard to spot. In fact, it’s a lot easier to miss than it is to find. Basically, if you’re driving south, it’s on your right, two turns past the official park entrance, which is on the left, inland side of the highway. Sycamore Canyon Road is a rugged, mostly one lane mountain road. It’s a little over two miles to the beach but it feels like a lot longer. We went on a weekday and there was very little traffic. However, I’ve been told that it’s very crowded on the weekend and they may only allow one car in at a time. The good news is, Pfeiffer Beach is awesome for photos! There really is purple sand, something I was really skeptical of. There’s also a pretty pond, great rocks and cliffs, a natural bridge with waves crashing through it, and lots of tide pools. I’m honestly not much of a beach person and wasn’t very excited about this stop. But once we got down there I couldn’t stop taking pictures – especially of the purple sand. It’s really quite amazing. I’ve never seen anything like it. It’s supposed to be best after a big rain, when it washes down from the hills onto the beach. But it was dry when we visited and there was still plenty of purple sand.
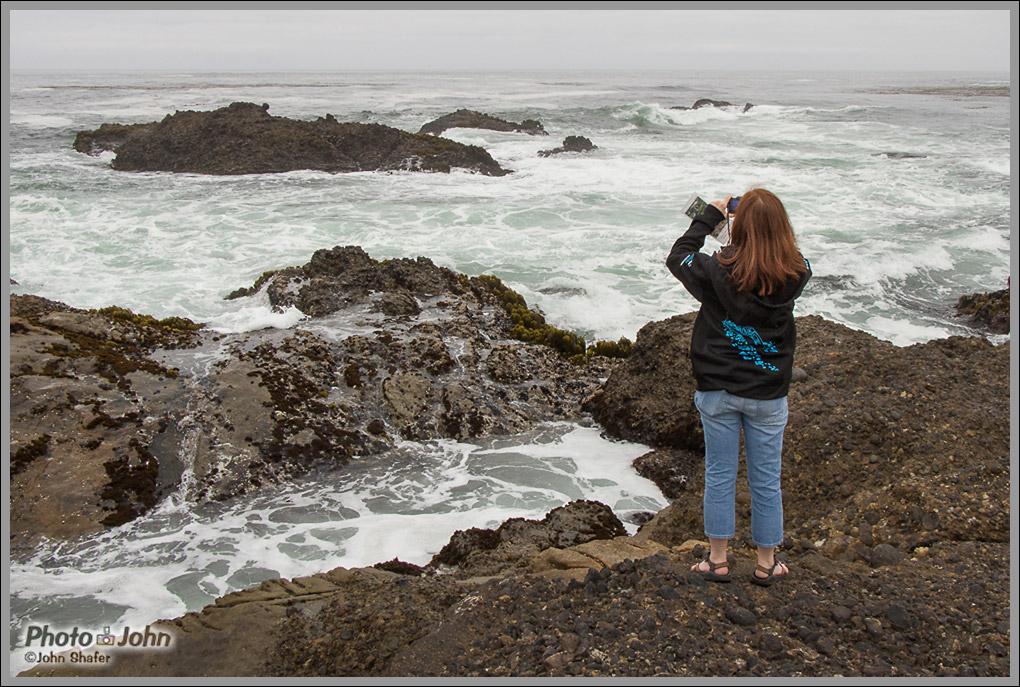
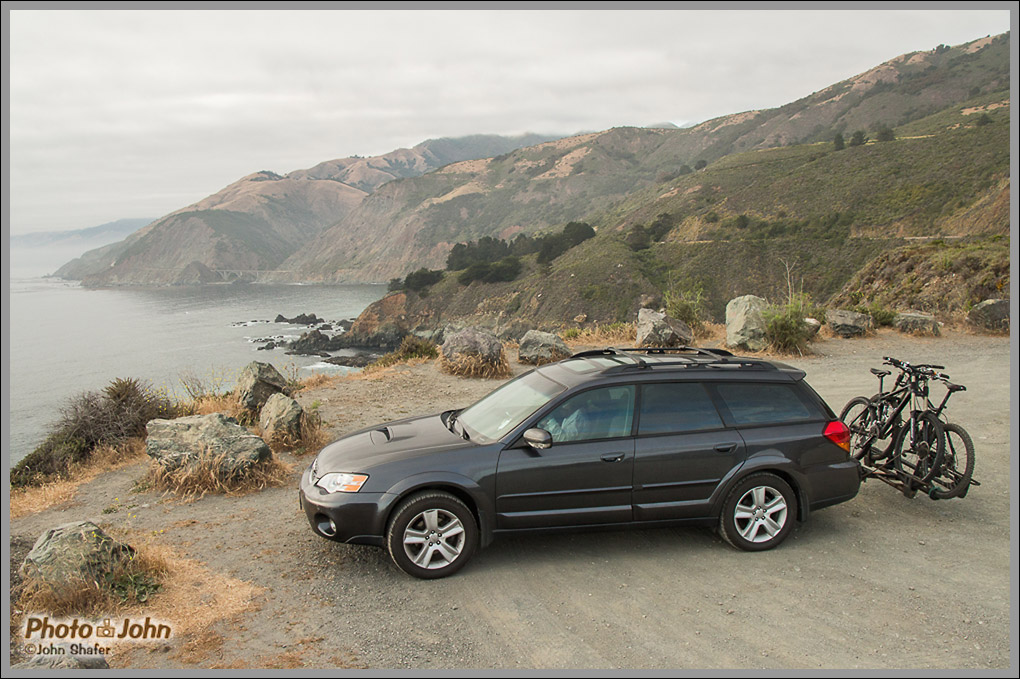
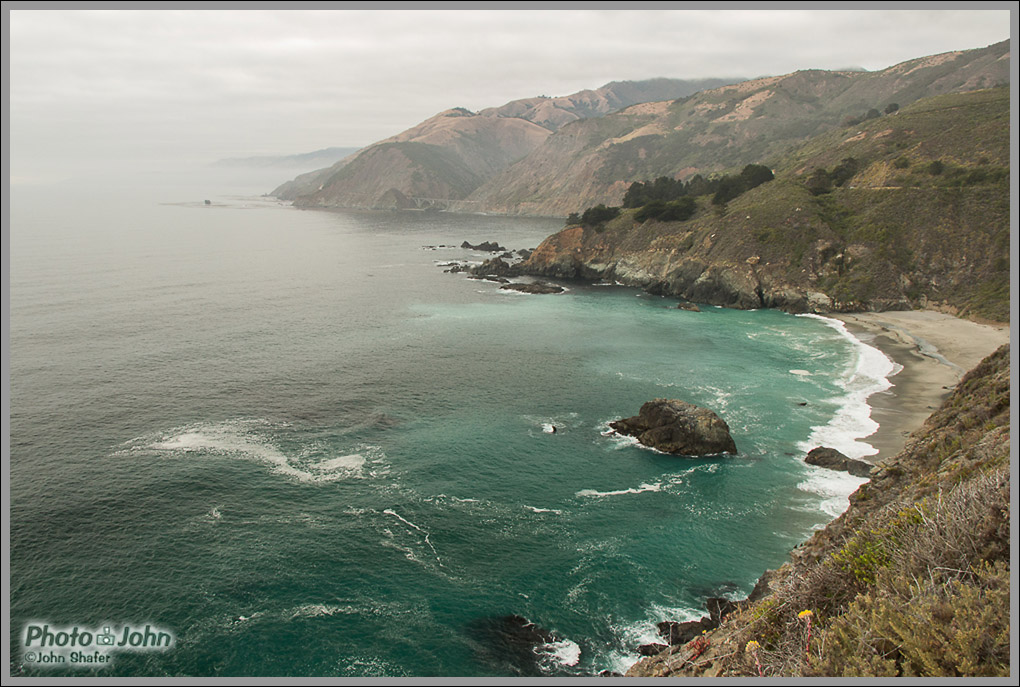
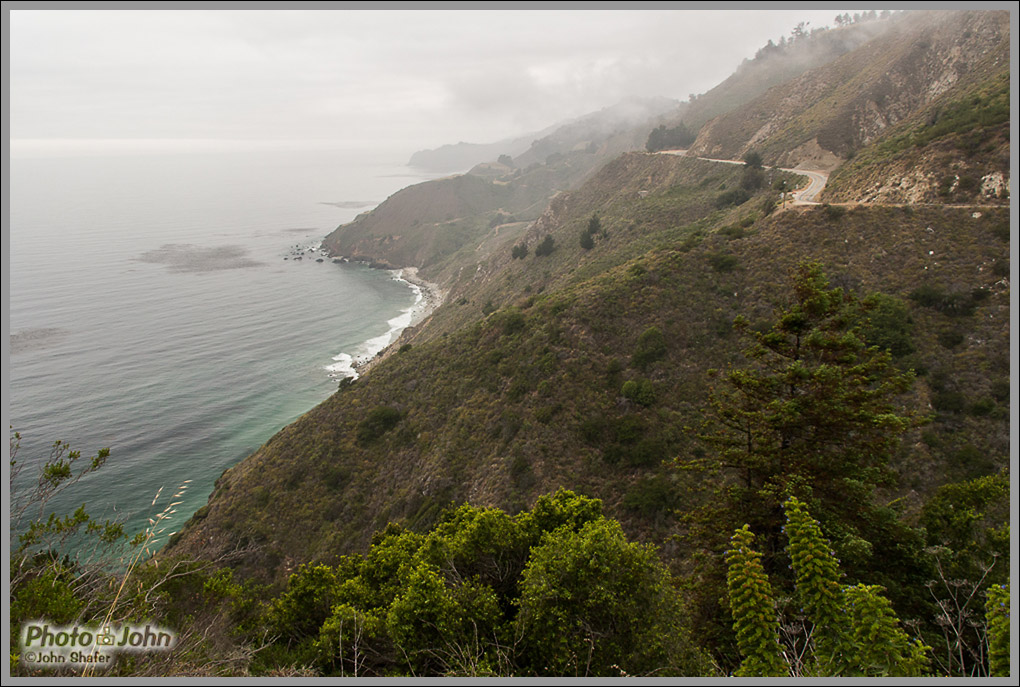
After Pfeiffer Beach, we headed south again. The road gets tighter and more exposed after the town of Big Sur, with lots of pullouts, most of which will make put butterflies in your stomach from the exposure. Make sure you stop at a few pullouts to get some photos of the road, cliffs and ocean. It’s hard to get a real idea of the terrain from the car and I don’t think you’ve really had a complete trip if you don’t take at least a few photos of the cliffs and highway.
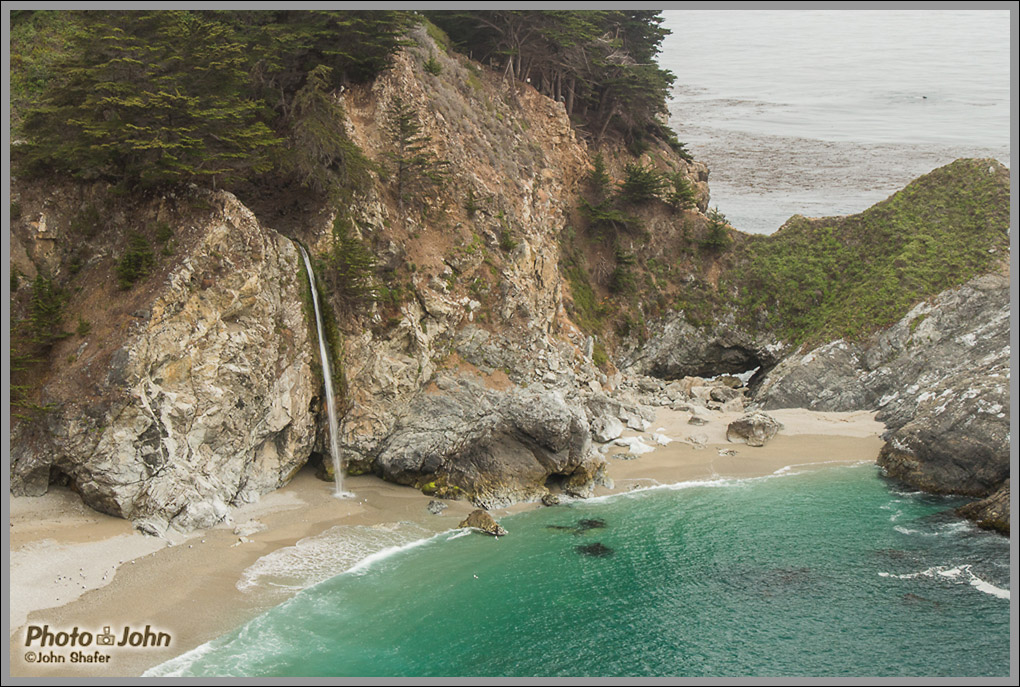
Our final Big Sur destination and a mandatory stop for photographers, was MacWay Falls. It’s a waterfall that falls from sheer cliffs to a pristine beach in a beautiful protected cove with perfect, turquoise water. It’s a truly exotic scene and one that’s been photographed millions of times. It’s very difficult to take a really unique photo since there’s just one trail out to where you can see the waterfall. There’s no beach access, either. The beach is surrounded by sheer cliffs covered with poison oak. That’s actually a good thing because it keeps the beach clean and footprint-free. If you really want to do it right, time your MacWay Falls visit so you’re there at sunset. Bring a good jacket and a tripod and keep in mind that it’s about a 20 minute walk out the where you get a clear view of the falls. Don’t be dismayed if it’s overcast or foggy. The coastal fog layer will often clear right around sunset so hang in there and give it a chance to clear. You could win big. Plus – a little bit of cloud will make for better photos. Clear, empty skies are boring.
After MacWay Falls we stopped at a few more pullouts for photos and cheap thrills looking over the edge of the cliffs. Honestly, every one of them is worth stopping for. But we didn’t have time to check them all out as it was already getting late by the time we left the falls. The next serious destination is Hearst Castle, about an hour south of MacWay Falls. San Simeon and Hearst Castle are actually well past Big Sur, proper. But if you plan to continue the drive south, Hearst Castle is worth considering. I’ve never actually visited Hearst Castle because you have to schedule a tour. I’ve seen plenty of photos though, and it’s absolutely gorgeous – definitely a worthy photo location. I think we’ll have to make a trip back and make sure to include Hearst Castle.
If you do continue south, there are hotels just past San Simeon. The first real town is Cambria, a little over 60 miles south of MacWay Falls and about an hour and a half of drive time. We spent the night in Morro Bay, the last town on Highway 1 before it joins back up with 101. We arrived there right at sunset – about 8:30 PM on an early June evening. We left San Jose early that morning and it was a long day. Keep that in mind if you plan to drive all the way through Big Sur. Even though it’s only about 200 miles and 4 hours of drive time according to Google Maps, it’s slow driving. Add in photo stops and lunch and you’ve got a very full day. Make sure to bring plenty of memory cards, extra batteries and all your camera gear – including a tripod. You want to be prepared for anything. If there’s a lens you might want but don’t have, buy it or rent it. You want a full range for Big Sur. You’ll be shooting everything from big landscapes to distant wildlife. For APS-C DSLRs, that means at least 18mm to 200mm. If you have a full-frame digital SLR, you’ll want 24mm to 300mm. Better to spend a little extra on a lens rental than to miss a once-in-a-lifetime photo opportunity.
I hope this Big Sur photography destination article was interesting, useful and inspiring. We were making a trip from Utah to Southern California and decided to drive through Northern California so we could include Big Sur. It was worth the extra time, effort and expense. If you’re a photographer looking for a good photo trip, it doesn’t get much better than Big Sur. It’s got ocean, mountains, wildlife, history, and a waterfall that drops onto the beach – truly a bit of everything. And we just scratched the surface. If you want more adventure than a simple roadtrip offers, you can do multi-day backcountry hikes up into the mountains and there are even hot springs you can hike to. Just remember that anything green is probably poison oak and it’s not to be messed with.
Like I said, we only scratched the surface of Big Sur, hitting the main, obvious photo destinations. If you’ve got your own Big Sur photo tips or locations to add, please do so in the comments section below. All Big Sur-related comments are welcome. They’ll make this a better resource for photographers planning a trip to Big Sur. If you’ve got your own Big Sur photos to share, include a link to your photos in the comments. The more inspiration the better!
































Great read and photos, John. I’m bookmarking it for future reference — I’ll do a trip down there one of these days. I camped at Pfeiffer years ago. Really want to see Hearst Castle.
Glad you enjoyed the article, Patia. It’s a pretty easy trip – especially from Santa Cruz. I want to do Hearst Castle, too. The tricky thing about Hearst Castle is you have to book a tour and be there on time. It’s difficult to do that if you’re driving down the coast trying to check stuff out. It would be better to drive down, spend the night in Cambria, and then do Hearst Castle the next day. Or, drive down 101 to San Luis Obispo, spend the night, then go to Hearst Castle the next day.
Have been to Hearst Castle several times. Never booked in advanced, always got on a tour with a short wait. Mind you, always when the kids are in school. Have done Highway 1 several times as well,and your photos are very similar as mine as the wife makes me stop everywhere. Highway 1 is one of our favorite rides and never tire of it.
Thanks for the advice!