Olympus E-PL5 Review: Image Quality
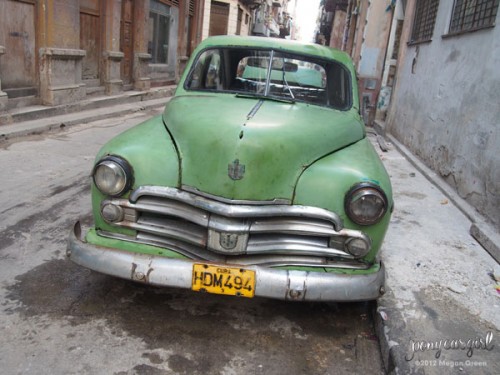
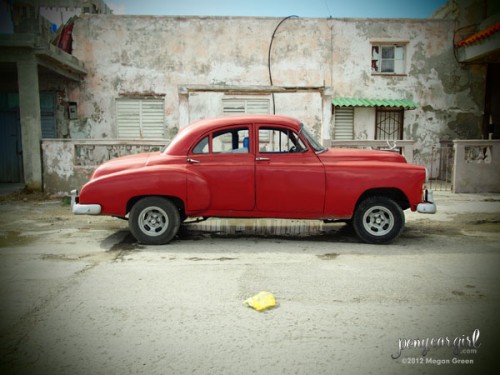
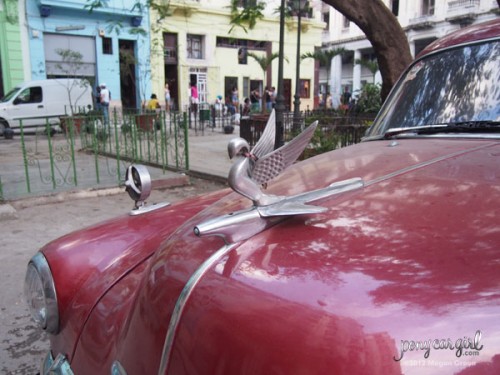
Crumbling old buildings make for great texture in photos, and Cuba is full of texture. Like Olympus digital SLRs, the E-PL5’s menu is packed with Picture Modes; Standard, Vivid, Natural, Muted, Portrait, Monotone, and Custom. I automatically set everything on Vivid.
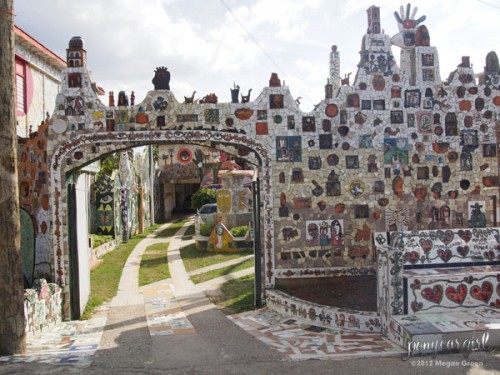
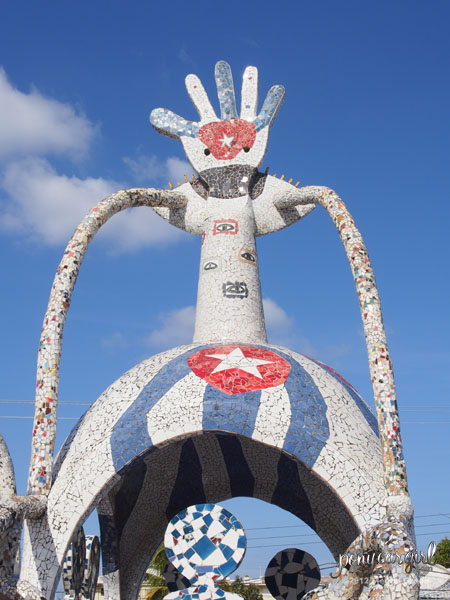
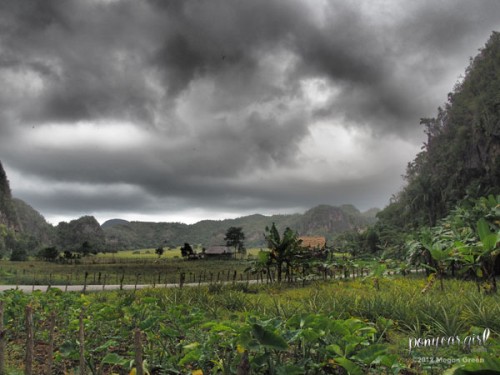
I was a little surprised that in some cases on a sunny day with fluffy clouds the sky dropped out a bit like in these photos from Jaimanitas, a public art project created by Jose Fuster, but I otherwise got great shots outdoors. On the other hand, I shot these photos in JPEG mode. If I’d shot them in RAW mode I definitely would have been able to pull more information from the clouds with post processing software.
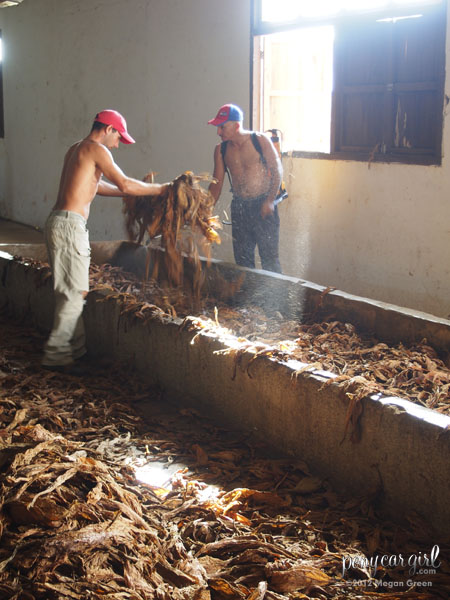
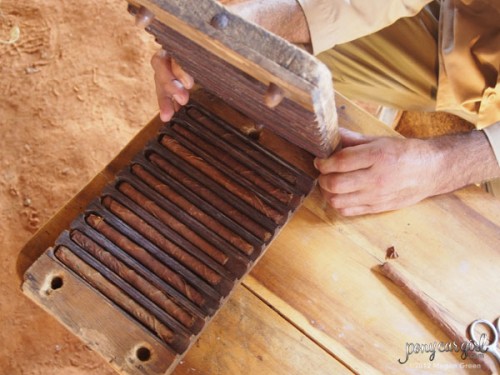
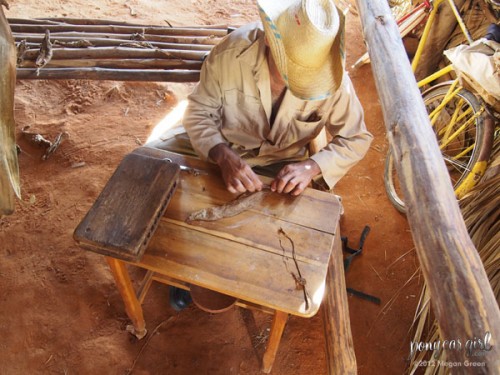
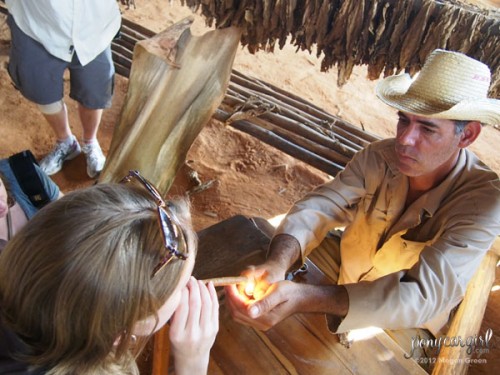
Shooting indoors or in a filtered light the E-PL5 was incredible, recording subtle tones in sometimes problematic lighting scenarios.
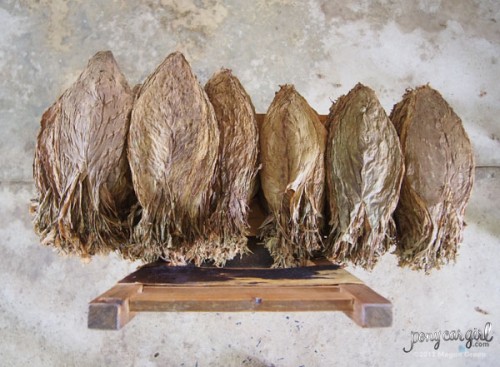
For the following images taken in a dark barn on a tobacco farm in Viñales, I changed the ISO to “auto” and let the camera decide for me, and I was able to get the shots without fiddling around between changing light situations.
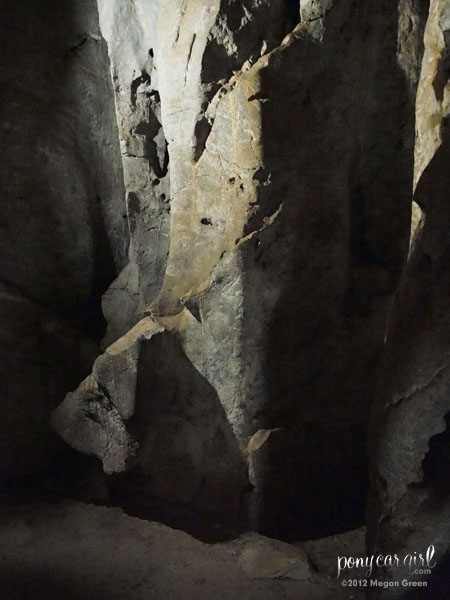
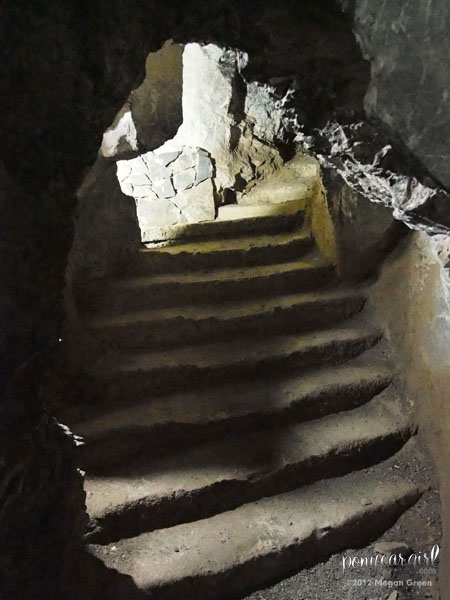
While in Viñales, we walked through caves in the Guaniguanico Mountains where escaped slaves used to hide from rancheadores, colonial-era slave hunters. Here I ratcheted the ISO up to 25,600. There were lights in the caves but in some places it was extremely dark. I’m always leery of noise with the smaller Four Thirds sensors, but while there was noise at this high sensitivity setting, it wasn’t as much as I expected – a great improvement over previous Olympus PEN cameras.
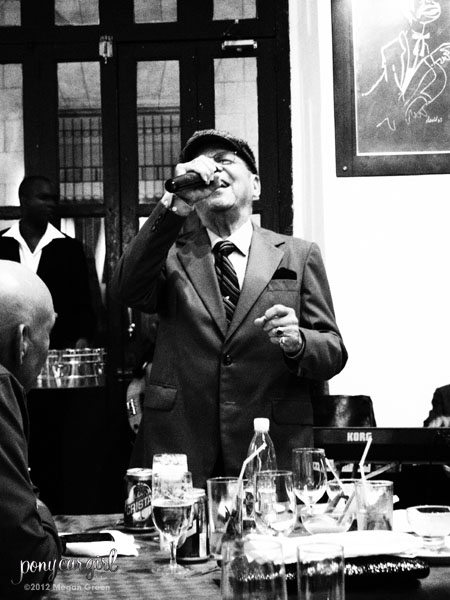
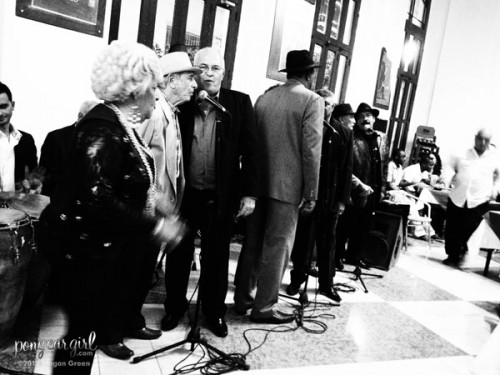
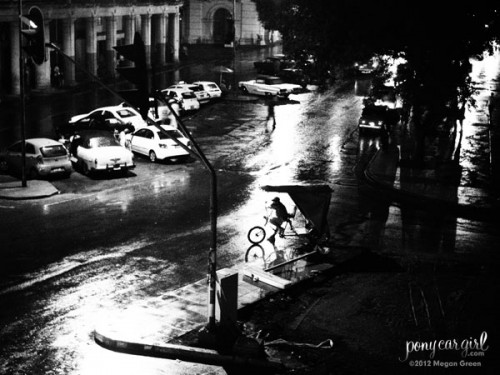
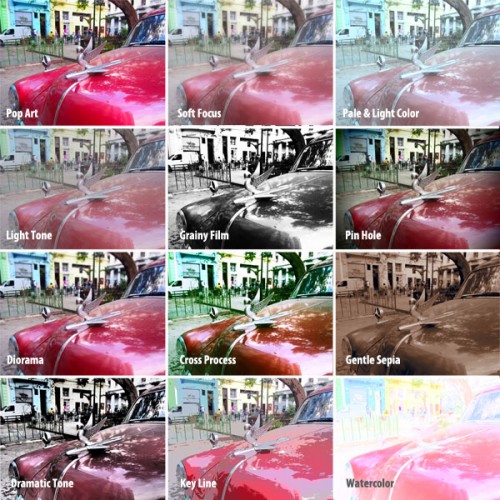
One of my favorite features of Olympus cameras are the Art Filters. To get to the filter menus on the E-PL5, turn the mode dial on the top of the camera to “Art.” Among my favorites is “Grainy Film” which creates gritty black and white photos. I had a few mojitos and didn’t feel like fiddling with the white balance while seeing the incredible Buena Vista Social Club, so I switched the camera over to this filter for some cool shots of these incredible musicians. It’s also great for dramatic night time and old-school street shots.
“Pinhole” is another favorite Art Filter. It adds a Holga-like vignette around the edges. “Dramatic Tone” is way over the top, creating mean looking clouds. It’s also handy in shadows, adding detail and depth where the shot would otherwise come out flat.
If you want to use an Art Filter but simply can’t decide which one, the last option on the menu is “Art Bracket” and it saves your shot with every Art Filter available. It does, however, take about 15 seconds to save in all thirteen options so it’s not something you want to do if you’re in a hurry. It’s interesting to compare the results, which I’ve done in this grid of a Havana street photo that I took in Art Bracket mode (the first image is no filter). One secret I’ve discovered is that if you shoot RAW, you can add the filter in post-processing using the Olympus image management software that comes with the camera. You can also shoot RAW+JPEG and the camera will save one processed Art Filter image as well as the untouched RAW file.
See All Olympus E-PL5 Photos >>
For more rigorous image quality evaluation, i.e. “pixel peeping,” check out our high-res Olympus E-PL5 studio test photos linked below. They were all shot RAW and are available at the original resolution.
|
| | | | | | | | |



Still use the E-P1 and it takes stellar shots. Compared to my full size slr’s and really cannot notice much of a difference. Add the lumix 20mm 1.7 and you have a near perfect camera.
Hi John:
The link to the ISO 3200 Sample on this page is broken.
~~~~~~~~~~
The “Contact Us” link in the footer is missing the .com part of the http://www.photography.com link so it is a broken link too.
I hope this helps.
Craig
Thanks, Craig! I just fixed the ISO 3200 sample image link and I’m going to send a report to the IT folks about the broken contact link.