There have been some reports that say the E-P3′s image quality isn’t as good as the E-PL2. I don’t know if those testers got bad cameras or they see things differently than me. The E-P3 and E-PL2 both use a 12-megapixel Four Thirds sensor but Olympus worked a little magic on the E-P3′s imager and I think it makes a real difference. The most important difference is the E-P3′s sensor has a thinner anti-aliasing filter that allows more light to reach the sensor and captures more detail. As soon as I started shooting with the E-P3 I thought the image quality was better, with smoother tonal blends, less noise, more detail and better low light performance.
Olympus increased the maximum sensitivity of the E-P3 to ISO 12,800 (it was 6400 for the E-PL2). Don’t let that fool you, though. Those top ISO settings are really just for marketing and spec sheets and I would never use them. In my opinion, the image quality of the Olympus-E-P3 is solid up to ISO 800 and you can push it to 1600 or even 3200 if you need to. Noise is almost impossible to detect at ISO 200 and 400 and only starts to become apparent at ISO 800. At ISO 3200 it becomes pretty obvious. This is, of course, with proper exposure. If you push your images hard in post-processing, like I did with my tradeshow photos, then noise could become a problem as low as ISO 800. The good news is, because of the built-in sensor-shift image stabilization, I found I rarely needed to go higher than ISO 800. Most of my photos were shot at ISO 400 or lower. Having the 12mm f/2.0 and 17mm f/2.8 lenses didn’t hurt, either.
The tradeshow photos were the ultimate test of the E-P3. They aren’t photographic showpieces by any means. For the most part, they’re all fast and dirty photos – mostly underexposed to keep the shutter speed up and fight camera shake. Pushed hard at ISO 800 and 1600, most of them do exhibit noticeable noise. But – I think its nice noise. You can see it but it’s not offensive. The only real issue was when I had to push an image over a stop. Then you start to get some weird color noise and banding in the shadow areas. But I’m talking about pushing my photos really hard. Those are user error, really – I should have been using a tripod.
I recommend shooting RAW with the Olympus Pen cameras – with all cameras, that have a RAW mode, actually. Shooting RAW ensures you have all the data the camera can capture and the maximum range of tones. So if you do want (or need) to do some post-processing, you’re doing it with all the data. It also keeps you flexible as far as white balance goes. When you shoot JPEG, your images are processed in the camera and your white balance is locked in. That makes it nearly impossible to correct white balance mistakes (e.g. accidentally shooting outside with tungsten white balance). Over the years I’ve noticed that Olympus cameras sometimes have too much red in outdoor photos. That problem is very difficult to correct with JPEG image files. But if you shot RAW, your white balance isn’t locked in it’s a lot easier to fix.
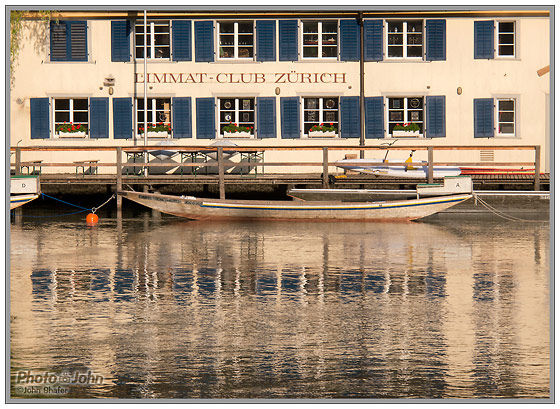
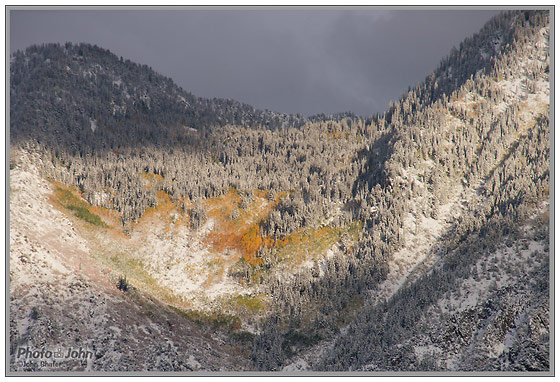
Ultimately, the Olympus E-P3 has great image quality. Landscape photographers who are used to high-resolution full-frame cameras may be a little disappointed with the level of detail. But then again, life is full of compromises, isn’t it? I noticed the lack of detail in some landscape photos but I never felt like it was a deal-killer. If you keep the camera at ISO 800 or lower and expose properly you should have no complaints. And if you’re a sloppy shooter who takes lots of chances, like me, even then you should be happy. It’s only when you’re shooting at ISO 1600 and pushing your images really hard in post that you’re going to run into real problems. And if you’re doing that, then like me, you should be using a tripod or flash.
 |
 |
 |
 |
 |
 |
Click on thumbnails to view sample photos.
Next – Olympus E-P3 Conclusion >>
| Olympus E-P3 Review Navigation | ||||||||||||||
|
||||||||||||||


Nice interview!! Here are some moere test shots with the 12mm 25mm and 45mm!!
http://www.flickr.com/photos/timvanvliet/sets/72157627295087905/
Greetz.