Black And White Photography Tips For Beginners:
How To Capture Excellent Monochrome Images
Most photographers shoot their subjects in color, convert the resulting images into black and white with photo editing software, and then think they’ve created a proper black and white photograph. What people don’t realize is that there are a couple of other factors that greatly affect B&W photographs. In this article we discuss those factors along with a few other black and white photography tips to get you off on the right track.
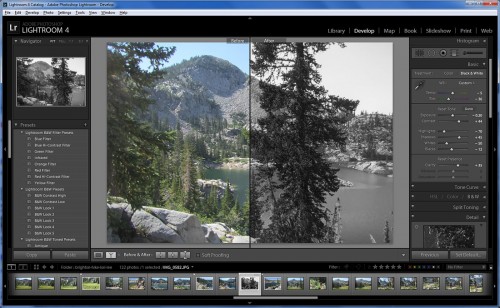
As I said before, you can convert images into B&W on your PC, and one of the best tips that I’ve come across so far is to do all the converting, editing, and even deleting of my captured images actually on my computer and not on the camera. Although today’s cameras are equipped with editing software, the results are at best passable. Post processing is a very important step in creating great images so you should be taking advantage of a bigger monitor and better editing software found on your computer.
But anyway, let’s take a look at how to capture black and white memories in RAW Format. A RAW image is basically the unprocessed image, straight from the camera’s sensor. The beauty of the RAW format is it contains all the information that our camera can capture. This gives us the freedom to touch up parts of the image which are too bright or too dark. Even though it might not look like it, there’s a lot more information there than we can see.
Not all digital cameras support RAW shooting. We also need computer software that can deal with these RAW files, so it’s a good idea to first check if your photo editing software can process and view RAW photos. Something else to bear in mind is RAW images have larger file sizes than JPEG photos, so you may need a higher capacity memory card if you want to shoot RAW (learn more about RAW shooting).
It’s also a good idea to really learn and see in black and white. You see, not all photographs turn out with the same effect. If a photograph looks good in color, it may not seem that impressive when it’s later converted into black and white. Great B&W photographers already know some images are better in color because they have learned to see in monochrome, making it easier to seek out subjects that are better suited for B&W photography.
For first time practice, you can just start by choosing a subject and imagining it in black and white. If you think you have a good photograph then take it, then do this over and over again to as many subject matter you can find. You will soon notice that there are objects that look good in color, and other subjects that look good in B&W. With time and practice you will soon have a perfect monochrome sight which will let you judge swiftly if a subject makes for a good B&W photograph or not.
Anyway, I’m now going to give you those tips you’ve been waiting for to take great black and white photos…
Try Shooting with Low ISO Settings
Low ISO settings give us photographs with low noise or grain so I would like you to imagine a B&W photo shot in a high ISO setting. The grain in that image will be more noticeable and will be very hard to fix in post-processing. We all have certain tastes when it comes to creating our images so if you want your photo to have more grain I still suggest shooting in low ISO because you can still add noise in your image with photo editing software while removing grain can be very troublesome.
Take Advantage of the Cloudy Weather
Sunny days are best for color photography while gloomy weather is perfect for B&W photography. The softened shadows together with minimal light from non-reflective surfaces help create better monochrome shots. Another advantage for taking B&W pictures on cloudy weather is that reflective surfaces such as glass, water, and shiny metals do not directly reflect light from the sun into your camera, so all of that beauty is captured.
Look for Subjects with Great Texture and Fine Detail
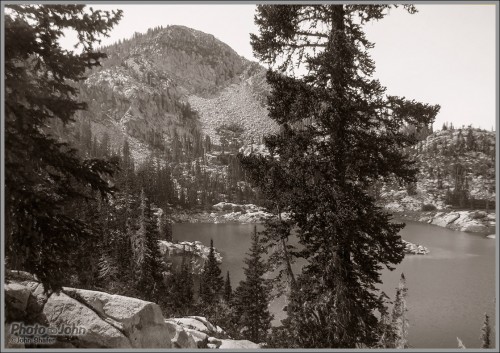
Texture and detail is a big part of B&W photography because without the colors, our mind focuses on the most noticeable characteristics of a photograph. Rocks, tree barks, old statues have impressive texture and detail which makes them excellent candidates for B&W pictures. The trick here is to imagine the final image in B&W, ignore the colors, and focus on the textures and the small details.
Create Contrast
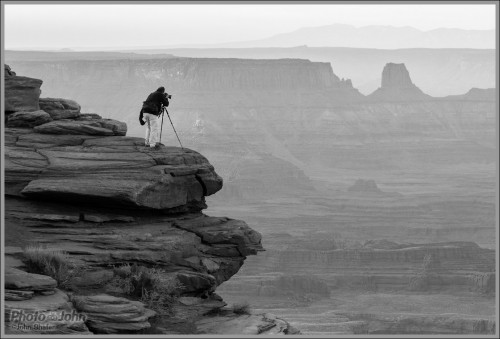
Truthfully, black and white doesn’t just simply contain black and white. With the combination of the two colors, different shades of grey arise. Excellent B&W photos can also be made by trying to minimize the shades of grey in the final image so that the contrasts of black and white can be seen. Another good idea it to clean the white areas if they contain splotches of gray and highlight the black in post processing.
Search for Subjects with Patterns
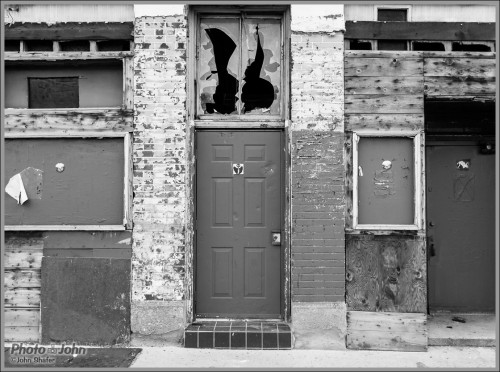
The reason why patterns pop out in monochrome shots is also due to the lack of color. Patterns aren’t noticed much in color photography because our brain easily interprets the different hues contained in a photograph. If you see a particular subject with a lot of patterns then converting it to B&W is highly recommended. Buildings, bridges, leaves, and even cracked soil are subjects with excellent patterns; try to capture them whenever you can.
Go Out There and Practice
I know that I have given you tips for what best subjects are for B&W photography but those are only suggestions. There are no restrictions in photography so don’t be afraid to capture anything and everything. Just always remember the important guidelines that I have shared and soon you’ll be making breathtaking monochrome images too.
About Mike Chase:
I hope you’ve enjoyed these tips for B&W photography. To read more of my photography tips, just CLICK HERE or you can bookmark MY PHOTOGRAPHY BLOG for future reference…. Thanks!
All photos copyright John Shafer and/or PhotographyREVIEW.com


As a photographic judge, I’m always criticising photographers for dull monochromes compared with contrasty colour shots. With mono one only has – as you say – the tonal & contrast range to generate interest. However too many think ‘sunny day= colour; dull day = mono”. I argue that it’s the other way round, – use the subtleties of colour in dull conditions, use the contrastly light to generate interest in mono.
So I think your reference to ” gloomy weather is perfect for B&W photography” is unfortunate advice for beginners.
Mike